
Last updated November 15, 2026
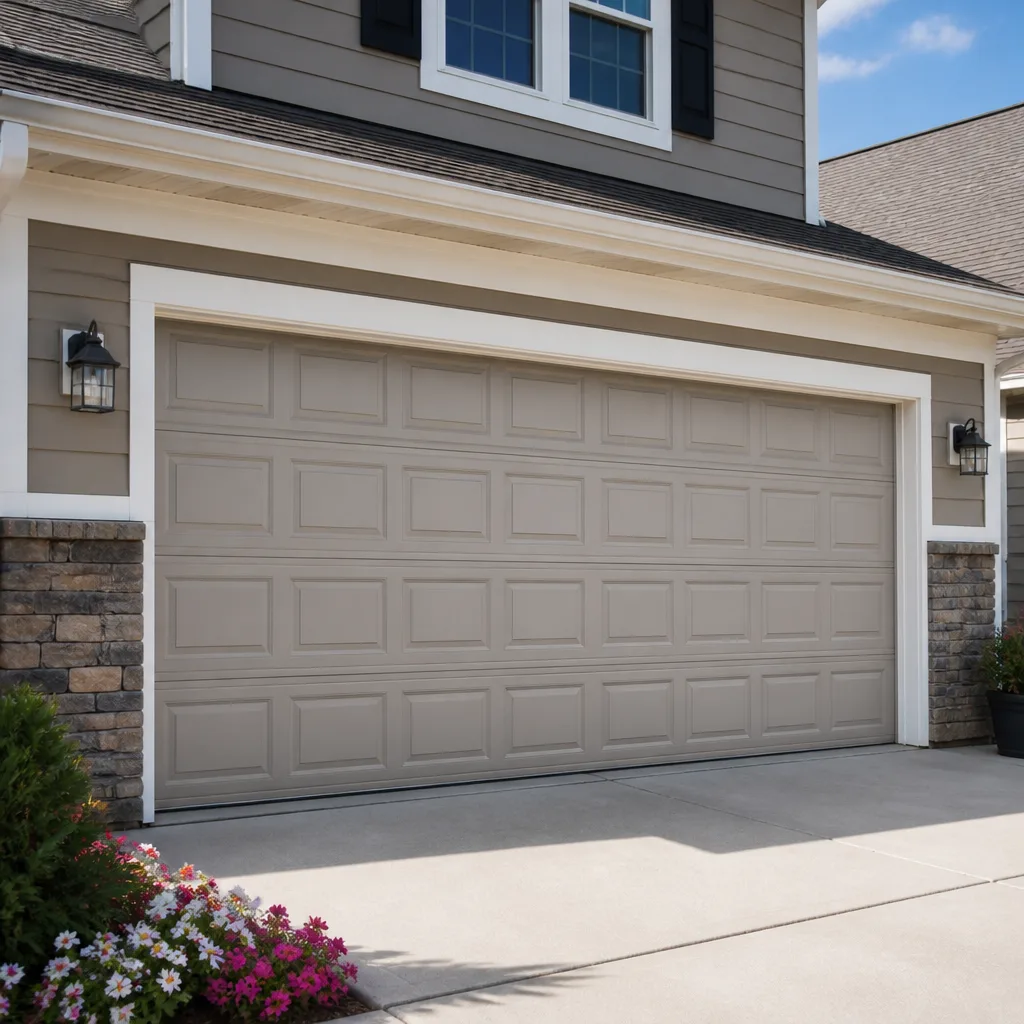 Raised-panel steel
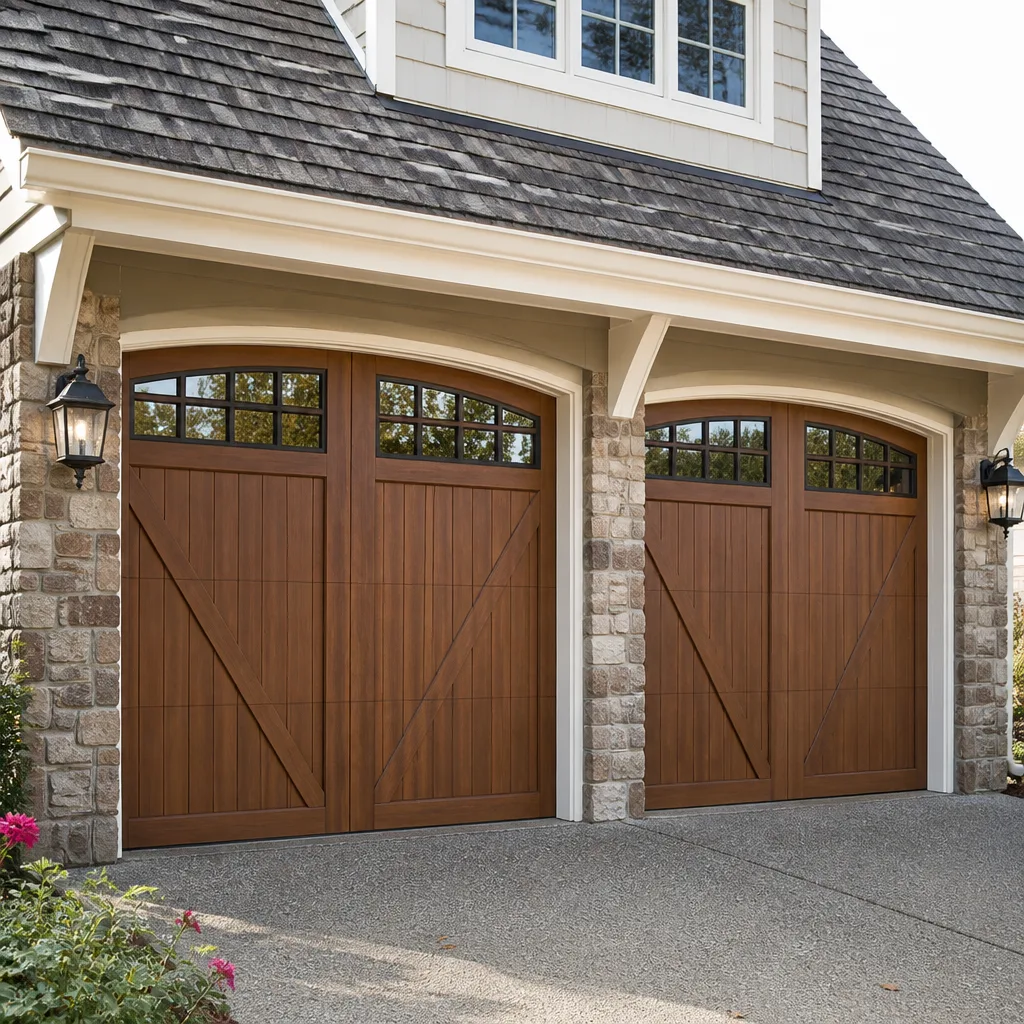 Carriage house
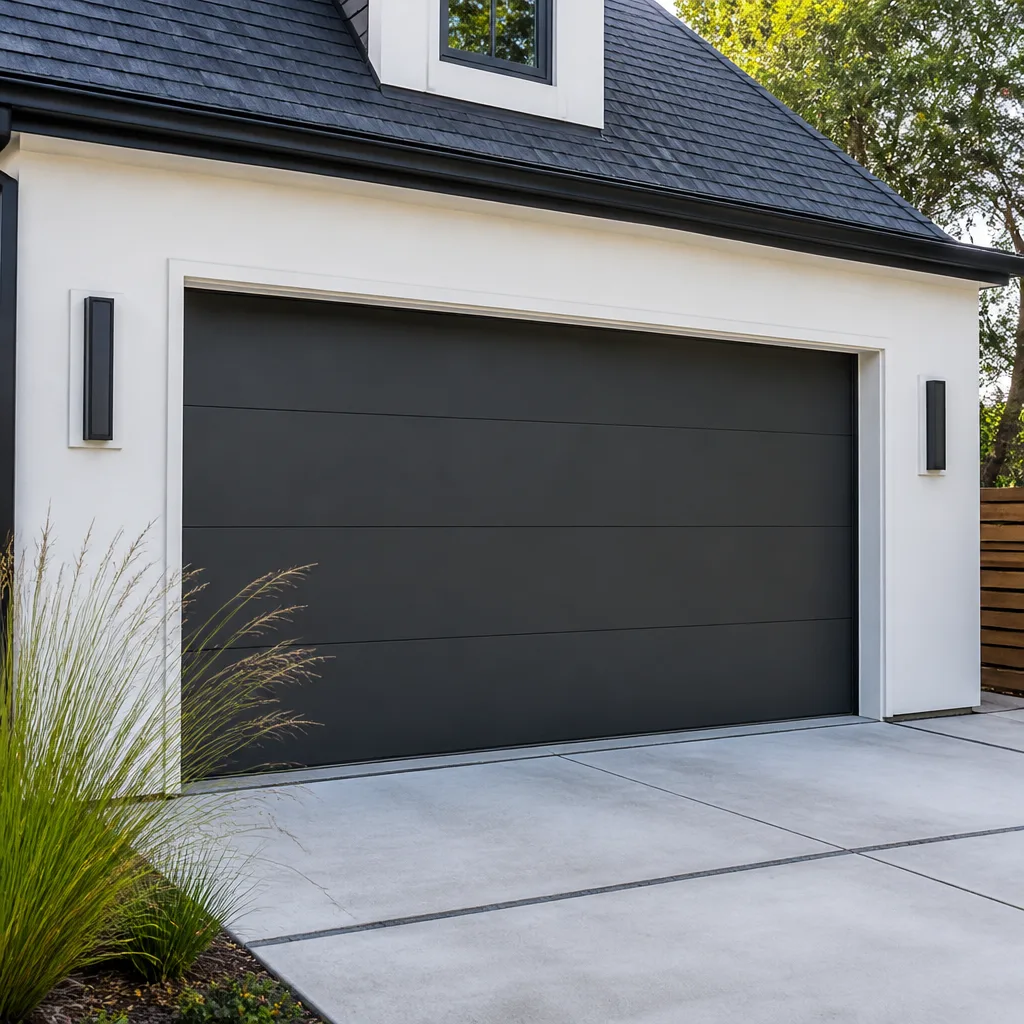 Modern flush
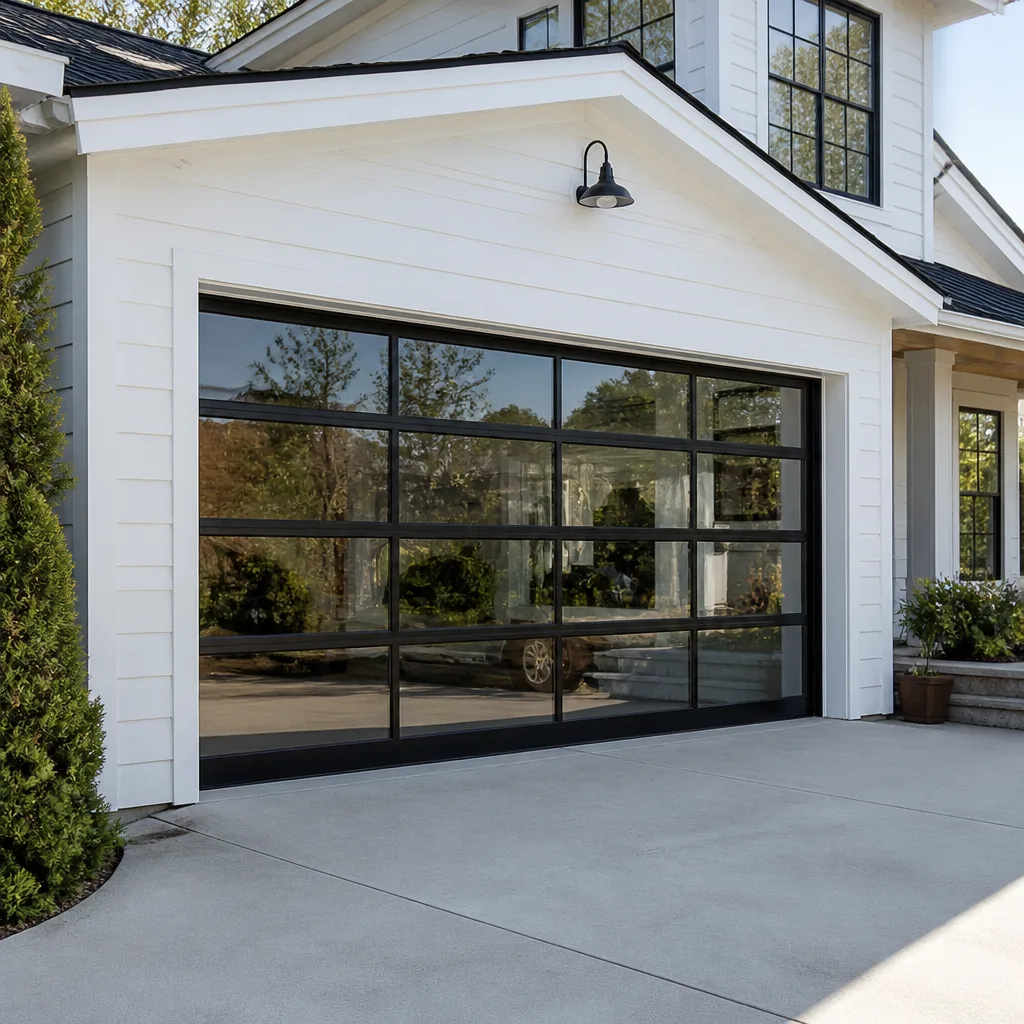 Full-view glass
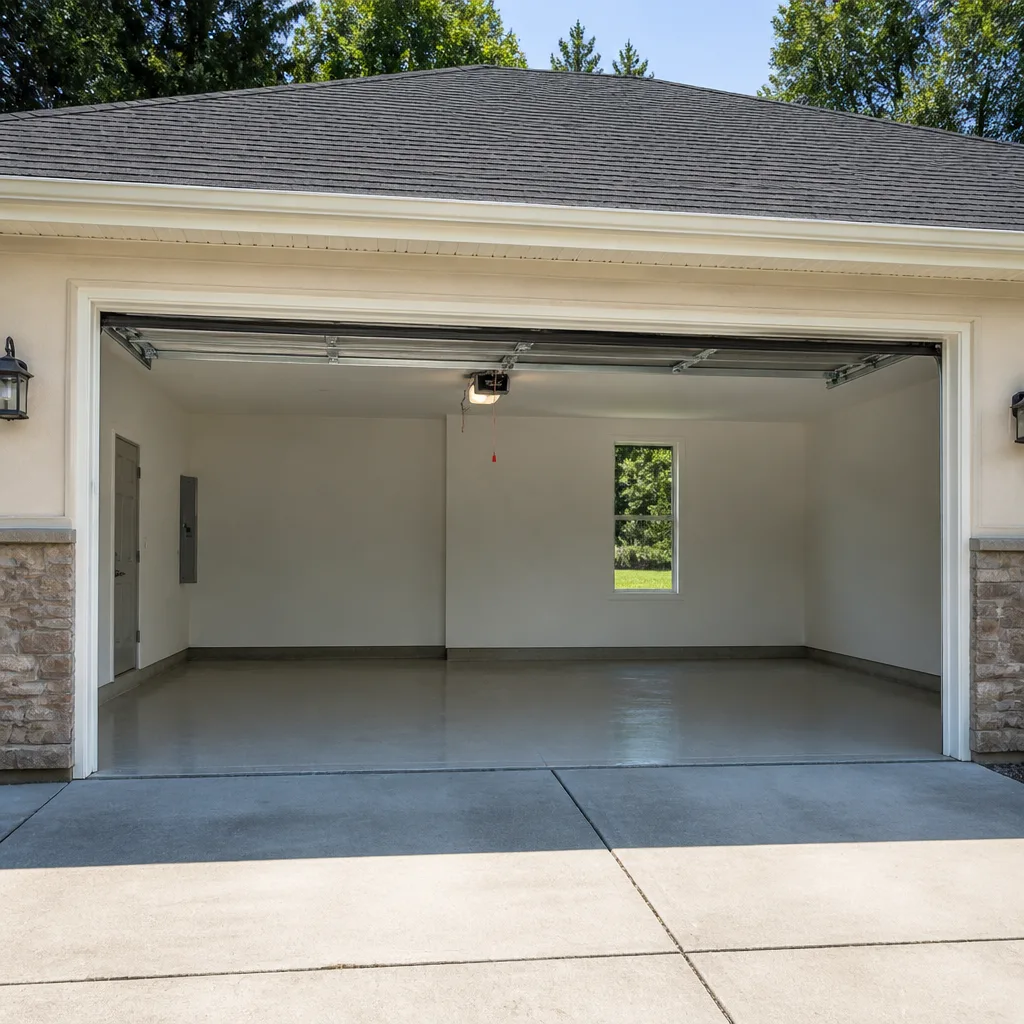 LiftMaster openers
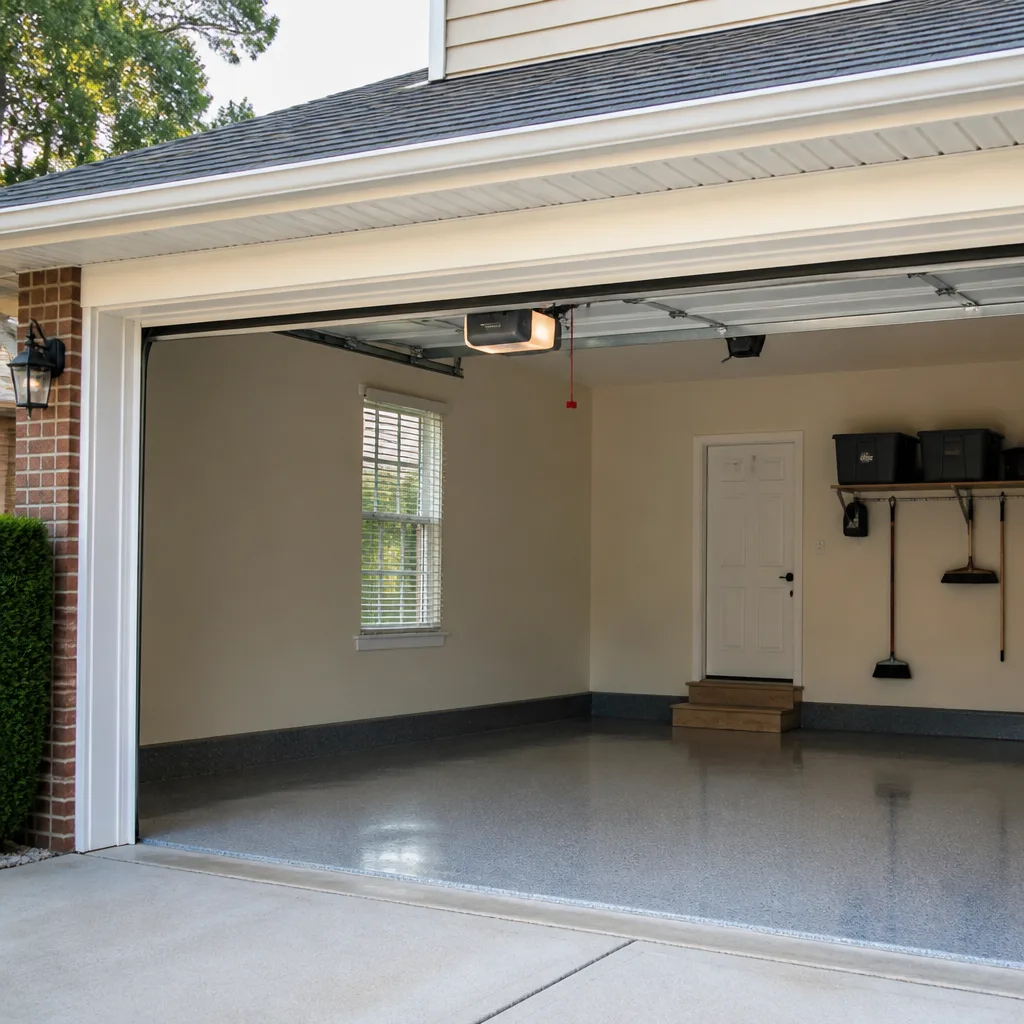 Chamberlain openers
Full 25-point door and opener safety check with every visit - springs, cables, rollers, tracks, and your LiftMaster or Chamberlain opener included
You get a price before we start. It does not change when the pro arrives.
Get your free estimateDIY vs Professional Garage Door: The Wilmington Homeowner’s Decision Guide
Torsion springs store enough energy to cause permanent hand injury in under a quarter second. But most homeowners who get hurt weren’t replacing springs. They were “just adjusting” them, because a video made it look simple. That’s the trap this guide is built to close. The DIY-versus-professional question for garage doors isn’t really about how confident you feel. It’s about which specific task you’re attempting. A weatherseal swap is genuinely safe to do yourself. A torsion spring adjustment in Wilmington’s summer humidity is a different animal, and the difference matters. We’ll walk through a task-by-task safety matrix, the warranty fine print that nobody reads, and the honest math on when DIY saves money and when it costs far more.
Quick Answer
Most garage door tasks split cleanly: seals, lubrication, visual checks and photo-eye cleaning are safe to do yourself, while springs, cables, torsion hardware and opener wiring belong to a trained professional, no exceptions. In Wilmington, summer humidity makes torsion springs corrode at the coil interface, so a spring that looks intact can fail without warning during a “routine” adjustment. If the job involves stored tension or a live electrical panel, call a pro; if it’s a surface part, you can handle it.
Styles & brands we work with
- Raised-panel steel
- Carriage house
- Modern flush
- Full-view glass
- LiftMaster openers
- Chamberlain openers
Table of Contents
- The Task-by-Task Safety Matrix: Green, Yellow, and Red
- Why Wilmington Humidity Changes the Risk Calculation
- The Warranty Void Reality: Which Brands Exclude DIY Installation
- What You Can Safely Do Between Service Calls
- The Honest Cost Math: When DIY Saves and When It Costs More
- How Professionals Diagnose by Brand, Not Guesswork
- Repair or Replace: The Decision at the Door
- Common Mistakes to Avoid
- When to Call a Professional
- Frequently Asked Questions
The Task-by-Task Safety Matrix: Green, Yellow, and Red
Here’s the framework that replaces the useless “how handy are you?” question. Every garage door job falls into one of three bins based on the physical forces involved and the parts you’d be handling, not based on your comfort level. Green means genuinely safe for a homeowner. Yellow means possible with the right tools and a clear understanding of what could go wrong. Red means hands off, full stop, regardless of confidence or video tutorials watched.
Green – safe DIY tasks:
- Replacing the bottom weatherseal (the rubber strip along the floor)
- Applying lubricant to rollers, hinges, and the track
- Cleaning the safety photo-eye lenses and checking alignment
- Wiping down panels and repainting a steel door
- Tightening exposed hinge bolts and track brackets that have worked loose
Yellow – DIY with specific tools and knowledge:
- Replacing roller wheels (needs a wrench and a door held in a stable position)
- Adjusting the close-force setting on a newer opener (use the manufacturer’s manual, not memory)
- Replacing a remote battery or re-pairing a remote
- Replacing a lift cable on a light door only if you understand tension – most homeowners should not
Red – professional only, no exceptions:
- Torsion spring replacement or adjustment
- Extension spring replacement
- Any work on cables under tension
- Straightening a bent track that supports the door weight
- Opening the opener housing or touching the capacitor
- Replacing or adjusting the high-voltage wiring to the opener
- Replacing a broken hinge on a panel carrying spring load
- Balancing a door that binds unevenly
That’s twelve tasks across three bins, and the line between yellow and red is sharp for one reason: stored energy. A torsion spring under tension can snap a cable loose with enough force to break bone. No home-skill level closes that gap. For the red list, the safe move is a call to garage door repair, not a trip to the hardware store.
Why Wilmington Humidity Changes the Risk Calculation
Wilmington’s summers run humid, and that single fact reshapes which spring failures you can predict. Torsion springs sit inside a tube above the door, largely stationary, and in sustained humidity the coiled steel at the coil interface – where wire rubs against wire – develops surface corrosion faster than the exposed sections. The pressure point where the spring coils touch traps moisture. That trapped moisture builds a thin corrosion layer that visually resembles normal wear. And unlike a spring that has simply fatigued with a visible crack or lost a coil, a corroded spring can appear fully intact right up until the moment it lets go.
This is the local twist most homeowners miss. In dry climates, a tired spring often gives warning signs: the door feels heavy, the gap at the floor grows, the opener strains. In Wilmington, those symptoms can be quieter. A spring that has been quietly corroding at the interface may release during what feels like a routine adjustment – you’ve lifted a winding bar or nudged the spring to “check” it, and the stored torsion energy has to go somewhere. We see the aftermath of this pattern more than any other DIY injury scenario around Wilmington.
A few environmental cues to watch for:
- Visible orange-brown haze at the coil interface or around the winding cone
- A door that has grown harder to lift by hand after a humid stretch
- A spring tube that sounds gritty or grinds when the door cycles
- Any snapping or popping sound when the door is operated
If you see any of these, don’t test the spring yourself. That’s a red-zone call, and in Wilmington, it’s the single most common reason we tell a homeowner to leave the door closed and bring in a trained eye.
The Warranty Void Reality: Which Brands Exclude DIY Installation
Here’s the fine print that turns a weekend installation project into an expensive surprise. Most major door and opener manufacturers condition their parts warranty on professional installation, and some of them state it plainly in the install manual and warranty document. Open that booklet before you buy a door or opener to install yourself, and read the section titled something like “Warranty Limitations” or “What This Warranty Does Not Cover.” Many of the eight brands we work on – including LiftMaster, Chamberlain, Genie, Clopay, Amarr, Wayne Dalton, Craftsman, and Raynor – include language that a DIY-installed unit is not covered the same way a professionally installed unit is.
The practical effect is this: you install a Clopay door or an opener yourself, and if a torsion spring fails or the opener’s logic board dies in the warranty window, the manufacturer may decline the claim on the grounds that installation wasn’t performed by a qualified installer. You saved a labor line on the invoice and lost a part that would have been replaced free.
What the manuals typically cover:
- Opener warranty: Most brands specify professional installation as a condition of the parts warranty on the motor and logic board. Some keep a shorter or modified warranty for DIY installs.
- Door and hardware warranty: Spring, track, roller, and hinge warranties often hinge on correct installation torque and balance, which a manufacturer can’t verify with a DIY install.
- Finish warranty: Steel door finish warranties commonly exclude improper installation that traps moisture or misaligns panels, which is exactly what a poorly seated door does.
This isn’t us telling you to read the fine print so we can do the job. It’s us telling you to read it so you don’t get surprised later. If the manufacturer’s manual lists professional installation as a warranty condition, the cost of a pro install often pays for itself the first time a part fails.
What You Can Safely Do Between Service Calls
There’s a real, useful category of homeowner maintenance that keeps components alive and doesn’t touch the warranty or create a safety hazard. This is the zone we want every Wilmington homeowner practicing between professional service visits, because it extends the life of the door and gives you early warning of problems.
- Lubricate twice a year. Apply a garage-door-specific lubricant to rollers, hinges, and the track – not to the spring. A silicone or lithium-based spray penetrates and stays. Given Wilmington’s humidity, one application after the humid season and one before it does real work.
- Wash the door and the weatherseal. A mild soap solution and a rinse protect the finish and keep grit out of the seal. Take the opportunity to look at the bottom seal – a dried, split strip lets water and pests in and is a green-zone replacement.
- Test the safety reverse monthly. Place a roll of paper towels on the floor in the door’s path, run the door down, and confirm it reverses when it contacts the object. This is the standard safety check and costs nothing.
- Clean the photo eyes. Wipe the two small lenses near the floor and confirm the indicator light on each is lit. A dusty lens is the most common cause of a “door won’t close” complaint.
- Balance check by hand. With the door disconnected from the opener (pull the release handle), lift the door to waist height and let go. It should stay put. A door that drifts down or springs up is out of balance and needs a pro – that’s a red-zone symptom, not a green task.
- Look, don’t touch. Inspect the springs, cables, and track for visible rust, fraying, or bends. Visual inspection is safe. Adjusting any of those is not.
None of this requires a ladder, and none of it risks stored energy. It’s the difference between maintaining a door and trying to service its tension system.
The Honest Cost Math: When DIY Saves and When It Costs More
DIY actually saves money on the green list. A weatherseal costs a fraction of a service call, and swapping it is a thirty-minute job. Lubricant and photo-eye cleaning save nothing but time and headaches. On the yellow list, the math is murky: a roller replacement can save real money, but a single bent track or mis-seated roller adds wear to the opener over months. On the red list, the math flips hard. A failed DIY spring adjustment can add substantially to the final professional repair bill – often because the door is now unbalanced, a roller is bent, or a panel is stressed. The extra cost isn’t the labor; it’s the cascade of secondary damage that a botched spring attempt creates.
The reason is mechanical. When a torsion spring or cable releases unexpectedly, the door’s weight goes off-balance and the remaining components take a shock load they weren’t designed for. Cables can kink, tracks can bow, hinges can twist, and the opener can strip a gear trying to lift a door that is now fighting its own spring system. A repair that would have been a spring replacement becomes a spring replacement plus two cables plus a track adjustment plus a gear kit. That’s the 60 to 80 percent you’d add to the final bill.
Where DIY genuinely wins:
- Weatherseal replacement
- Lubrication and cleaning
- Remote battery and re-pairing
- Photo-eye alignment
- Cosmetic touch-up and painting
Where DIY tends to cost more:
- Torsion or extension spring work
- Any cable replacement
- Track straightening
- Opener internal repair
- Balance adjustments on a door with a broken spring
The prices here are set per job by a written estimate, so we won’t quote a dollar figure for a job we haven’t seen. But the pattern holds: the green-list jobs rarely justify a service call, and the red-list jobs almost always do.
How Professionals Diagnose by Brand, Not Guesswork
A garage door system has two halves that fail independently: the mechanical side (springs, panels, tracks, rollers, hinges) and the electronic side (opener motor, logic board, remotes, sensors, wall controls). The homeowner complaint sounds the same either way – “the door won’t work” – but the actual fault lives in one half, and a professional diagnosis starts by separating them. A door that won’t lift by hand is mechanical. A door that lifts freely by hand but the opener runs and nothing happens is electronic. That single test determines the whole visit.
From there, brand matters. A Genie opener on a Wayne Dalton door behaves differently from a LiftMaster opener on a Clopay door. The manufacturer’s control logic, error codes, safety-reverse characteristics, and remote pairing procedure vary enough that a generic handyman approach turns into trial and error. We work on eight brands specifically – LiftMaster, Chamberlain, Genie, Clopay, Amarr, Wayne Dalton, Craftsman, and Raynor – because knowing each one’s quirks is faster and safer than re-learning them on the job. When we pull up to a door with a Wayne Dalton panel and a Chamberlain opener, the diagnostic path is already narrower than if we’d never seen either.
For electronic faults, that discipline matters even more. Opener logic boards, capacitor failures, and safety-sensor problems have brand-specific symptoms. A common complaint – the door opens but won’t close, or the remotes stopped working – often traces to a photo-eye misalignment, but on some brands it traces to a wiring fault or a logic-board capacitor. Reading the manual’s error table, rather than guessing, is what separates a one-visit fix from a return visit. For more on the electronic side, see our page on garage door opener repair.
Repair or Replace: The Decision at the Door
A well-maintained steel door can last much longer than homeowners expect, and a failed spring on a 15-year-old door doesn’t automatically mean it’s time for a new one. The decision comes down to three questions: what actually failed, what the rest of the system’s condition looks like, and whether the panels themselves are intact. A single broken torsion spring on an otherwise sound door is a repair. A door with rust-through at the bottom panels, a bent track, and a worn opener is usually a replacement conversation.
Here’s the framework we walk through at the door:
- Is the structure sound? Panels straight, track plumb, hinges tight. If yes, mechanical repair usually makes more sense than replacement.
- Is the failure isolated or systemic? One spring, one roller, one sensor – isolated. Springs plus cables plus opener plus rusted panels – systemic.
- What’s the age of the overall door and opener? A door well into its expected lifespan with multiple simultaneous failures tips toward replacement; a newer door with one failure tips toward repair.
- Does the manufacturer still support the parts? Older doors sometimes have obsolete hardware, which makes repair harder and more expensive.
- Do you want to change the door’s look or insulation? That’s a replacement reason independent of the failure.
The one answer we never give is a hard sell on a new door when a repair would serve you for years. Repair or replace – we’ll tell you honestly which makes more sense for your door, and the written estimate spells out both options when it’s close.
Common Mistakes to Avoid
- “Just adjusting” a torsion spring. The most common path to a serious injury in this trade. A spring that looks intact can fail the instant you touch the winding bars, especially in Wilmington’s humid summers. Don’t test it, adjust it, or “check” it. Leave it closed and call.
- Using WD-40 as a lubricant on the track and rollers. WD-40 is a solvent, not a lubricant, and it strips the grease that rollers need. Use a proper garage-door lubricant, and never spray the springs.
- Installing an opener without reading the warranty page. Several of the brands we work on condition their parts warranty on professional installation. Read that section before you buy, not after the part fails.
- Bypassing a safety sensor. Taping over photo eyes or holding a sensor up with a stick to get the door to close is a real safety hazard. A door that won’t close needs the sensor fixed, not defeated.
- Replacing a single spring on a paired-spring door. A door with two torsion springs usually needs both replaced together – the second is close behind the first. Matching a new spring to an aged one stresses both and can bend the tube.
- Power-washing the door with a harsh nozzle. In humid stretches, water forced into the coil interface of a torsion spring accelerates surface corrosion. Wash gently, rinse fully, and keep the spray off the spring assembly.
- Forcing a door that binds. Running an opener against a door that’s binding on a bent track strips the opener gear and can pop a cable loose. Stop, disconnect the door, and call. In Wilmington, humidity-driven track movement from a poor installation is a common cause of binding.
When to Call a Professional
Call when the task falls on the red list, and call if the symptoms point there. A snapped spring, a frayed cable, a door that won’t stay up when you lift it by hand, a bend in the track, an opener that hums and won’t move, or a safety sensor that won’t clear – each of these is a professional call. So is any situation where you don’t know which half of the system failed, because the wrong diagnosis wastes money both ways. A door that’s been binding for weeks, a door that reverses unexpectedly, an opener that moves in the wrong direction: those are diagnosis jobs, not DIY jobs. Gable Garage Door Repair offers free estimates in Wilmington – call (866) 961-8704. We answer 24/7. Fast dispatch from 7am to 7pm, Sunday through Friday.
Frequently Asked Questions
No. Torsion and extension springs store extreme energy, and releasing or adjusting them without training and the right tools is dangerous. A failed DIY spring attempt also typically adds cost to the eventual professional repair because cables, tracks, and the opener can be damaged in the process. Call (866) 961-8704 for an estimate – the estimate is free.
No, if the track is carrying door weight or has bent from the mounting. Track adjustment requires the door to be properly supported and the alignment re-checked, and a door that drops during DIY track work can cause serious injury. Track straightening belongs on the red list. Call (866) 961-8704 for a same-day assessment.
Often, yes. Read the warranty section of the installation manual for any brand you’re considering – many major manufacturers, including several of the brands we work on, condition parts coverage on professional installation. If the manual lists it as a condition, a DIY install can cost you the free replacement of a part that fails within the warranty window. Call (866) 961-8704 for a professional install estimate.
Wilmington’s humid summers accelerate corrosion at the coil interface where the spring wire touches itself, which is the hardest area to see and the most common failure point. Unlike a fatigue crack, corrosion can make a spring brittle without visible warning. If a door grows harder to lift or you hear grinding, don’t test the spring. Call (866) 961-8704.
The price depends on the door, the spring type, and whether it’s a single or paired spring, and the written estimate sets the exact figure. The price is quoted and agreed before any work starts, so there are no surprises when the work is done. Call (866) 961-8704 for an exact quote – estimates are free.
We answer calls 24/7, and dispatch runs from 7am to 7pm, Sunday through Friday, so most repair calls within Wilmington are handled same-day when the schedule allows. A call outside dispatch hours is booked into the next opening. Call (866) 961-8704 and we’ll tell you what’s available.
The Bottom Line
The DIY-versus-pro decision for a garage door is a task question, not a confidence question. Weatherseals, lubrication, photo-eye cleaning, and monthly safety-reverse tests are safe, useful, and worth doing yourself. Springs, cables, torsion hardware, track straightening, and opener internals are professional work, and in Wilmington’s humid summers the spring risk is even harder to judge by eye. Read the warranty page before you install, keep the door lubricated between visits, and don’t test a spring that looks intact. If a task falls on the red list, or you’re not sure which half of the system failed, stop and call. Gable Garage Door Repair connects Wilmington homeowners with trained professionals who work on the major brands by name. Call (866) 961-8704 for a free estimate. We answer 24/7. Fast dispatch from 7am to 7pm, Sunday through Friday.
Written by the team at Gable Garage Door Repair.
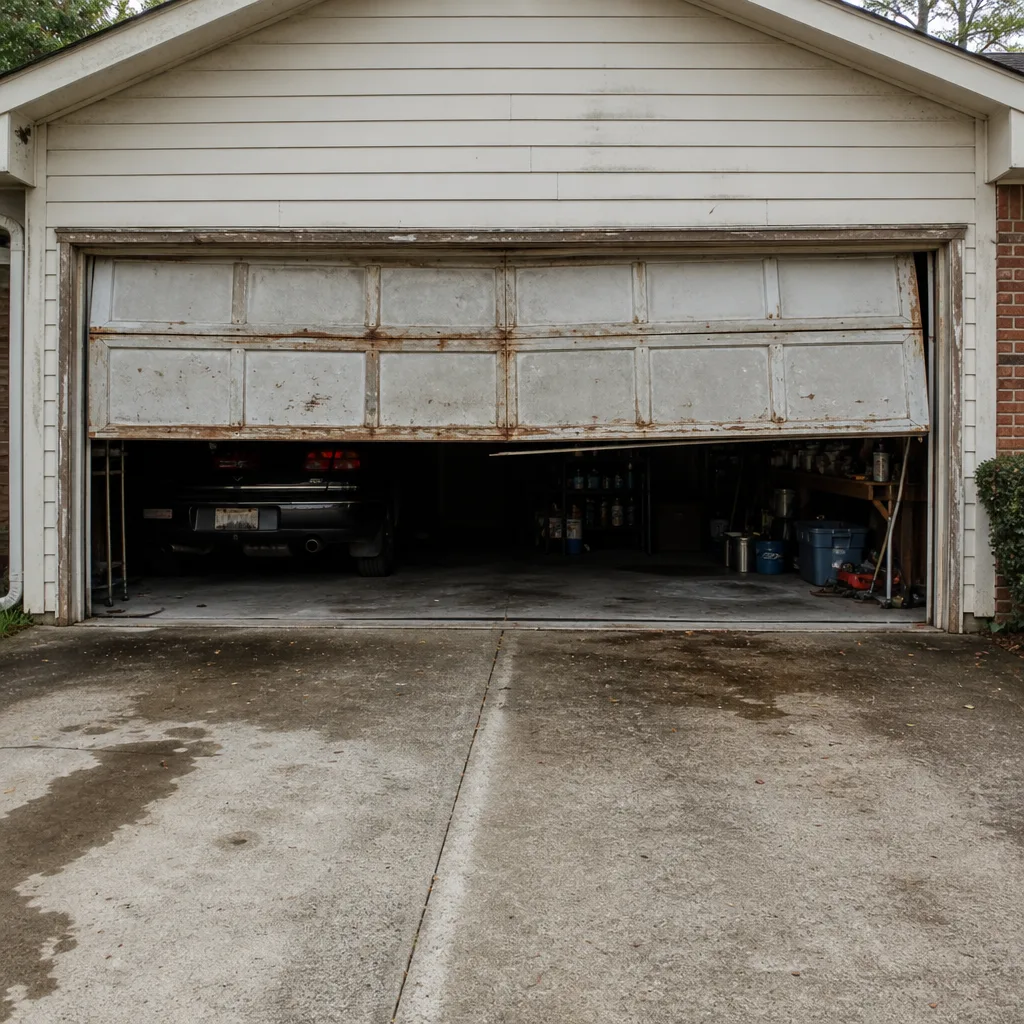
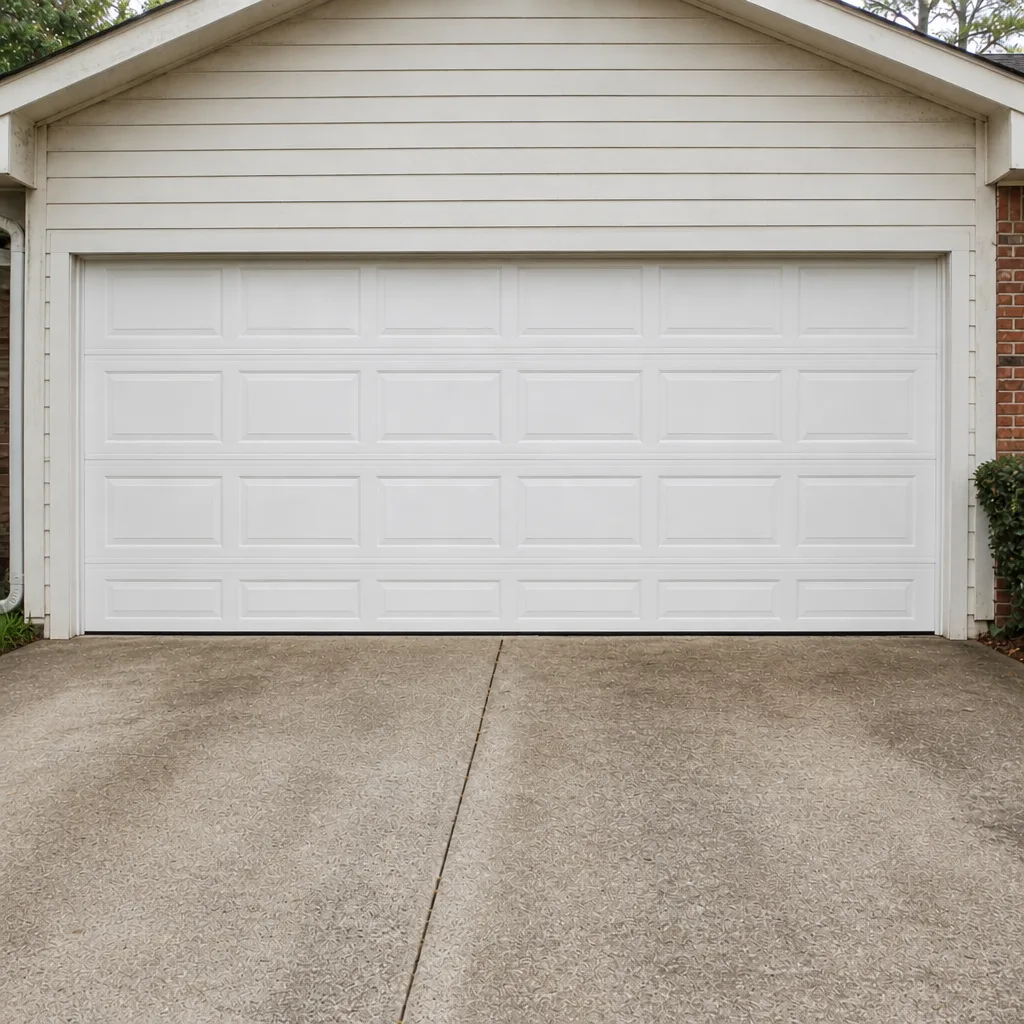
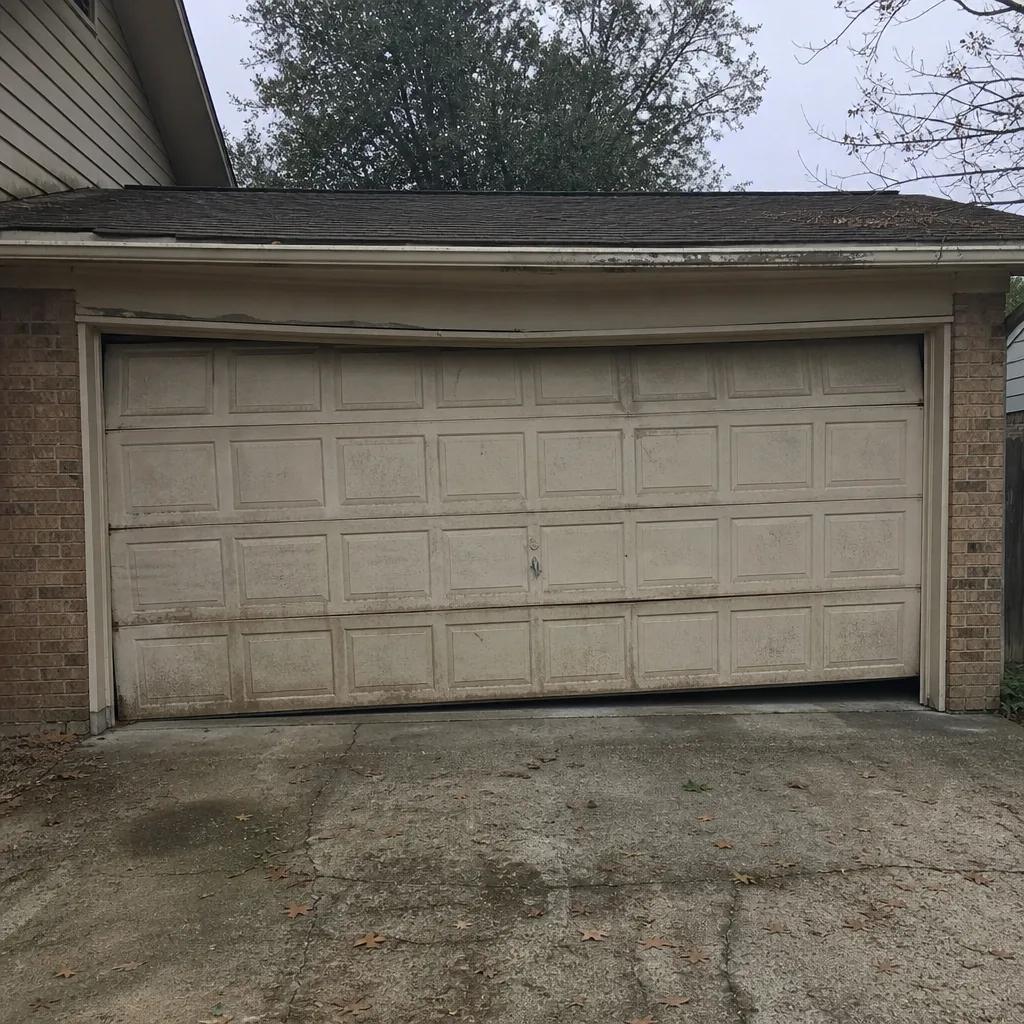
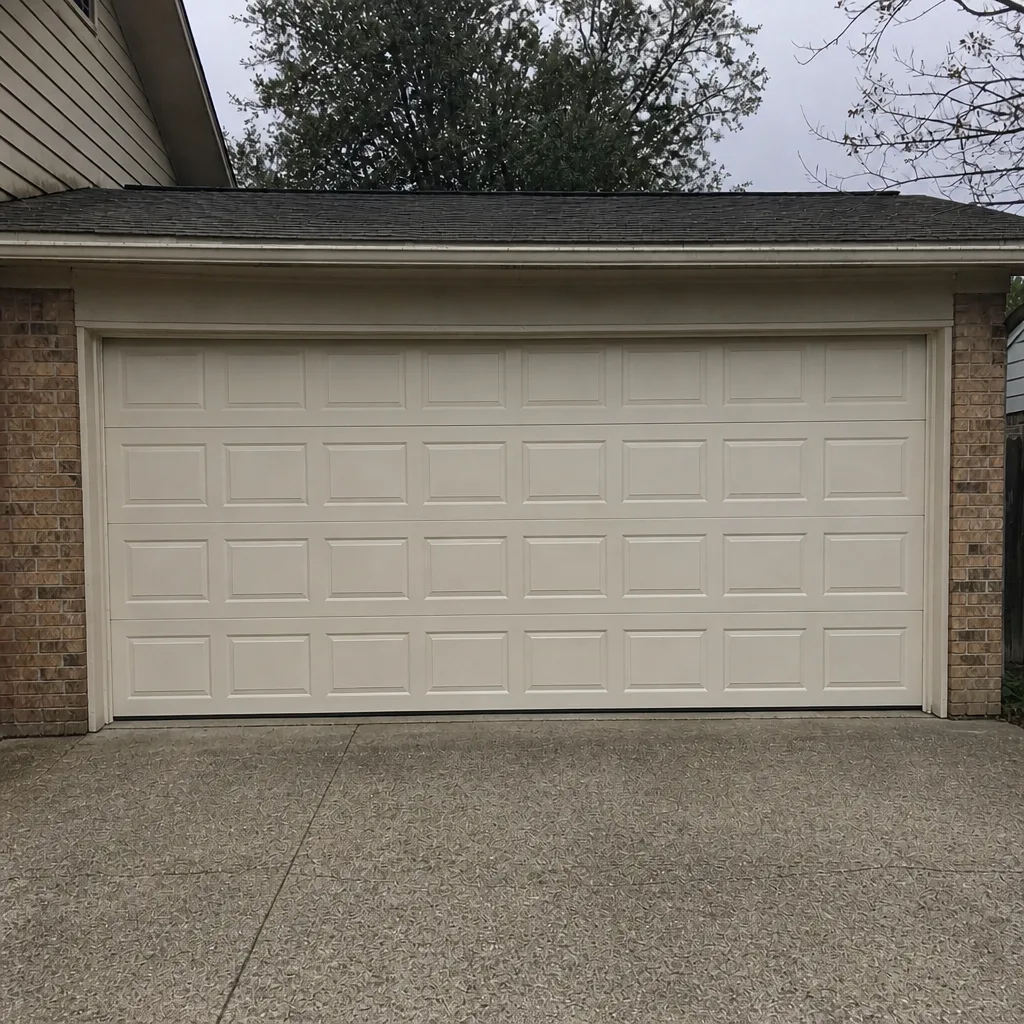
See the difference
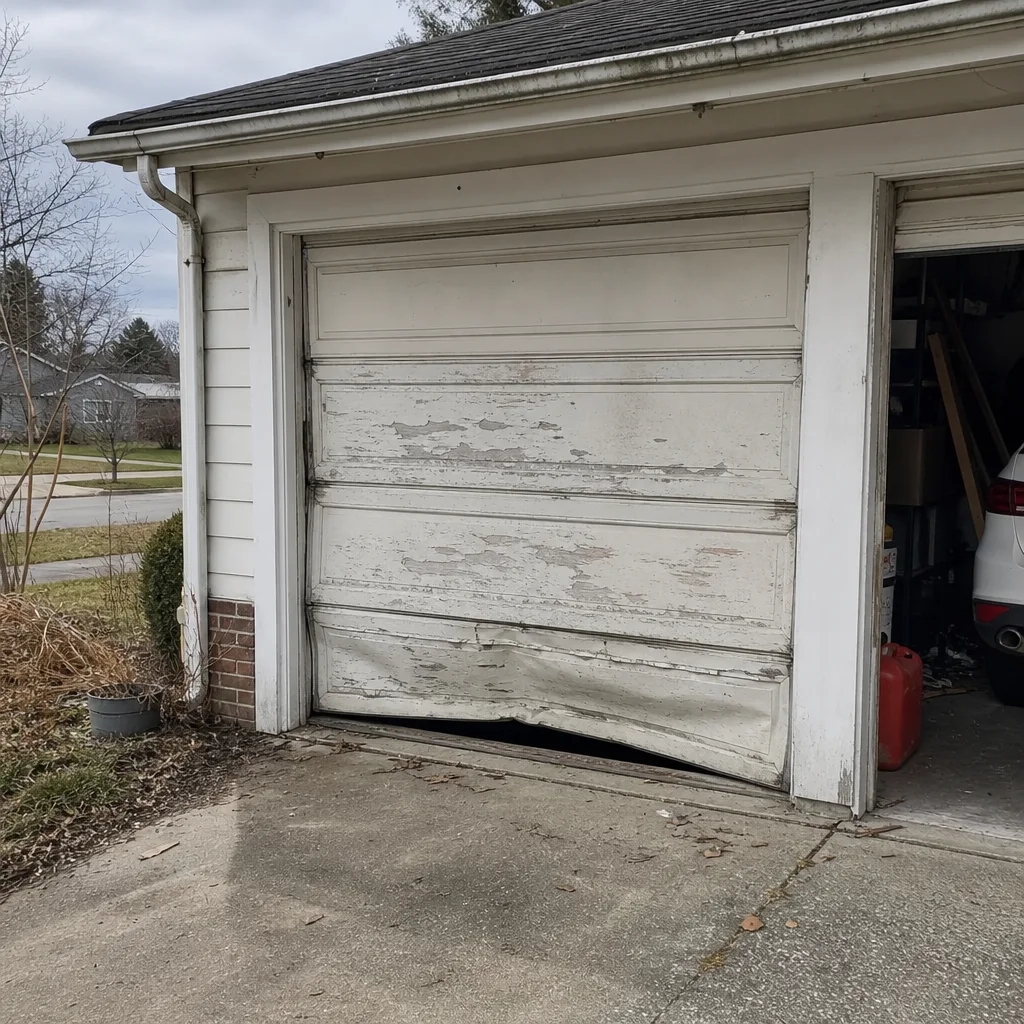 Before
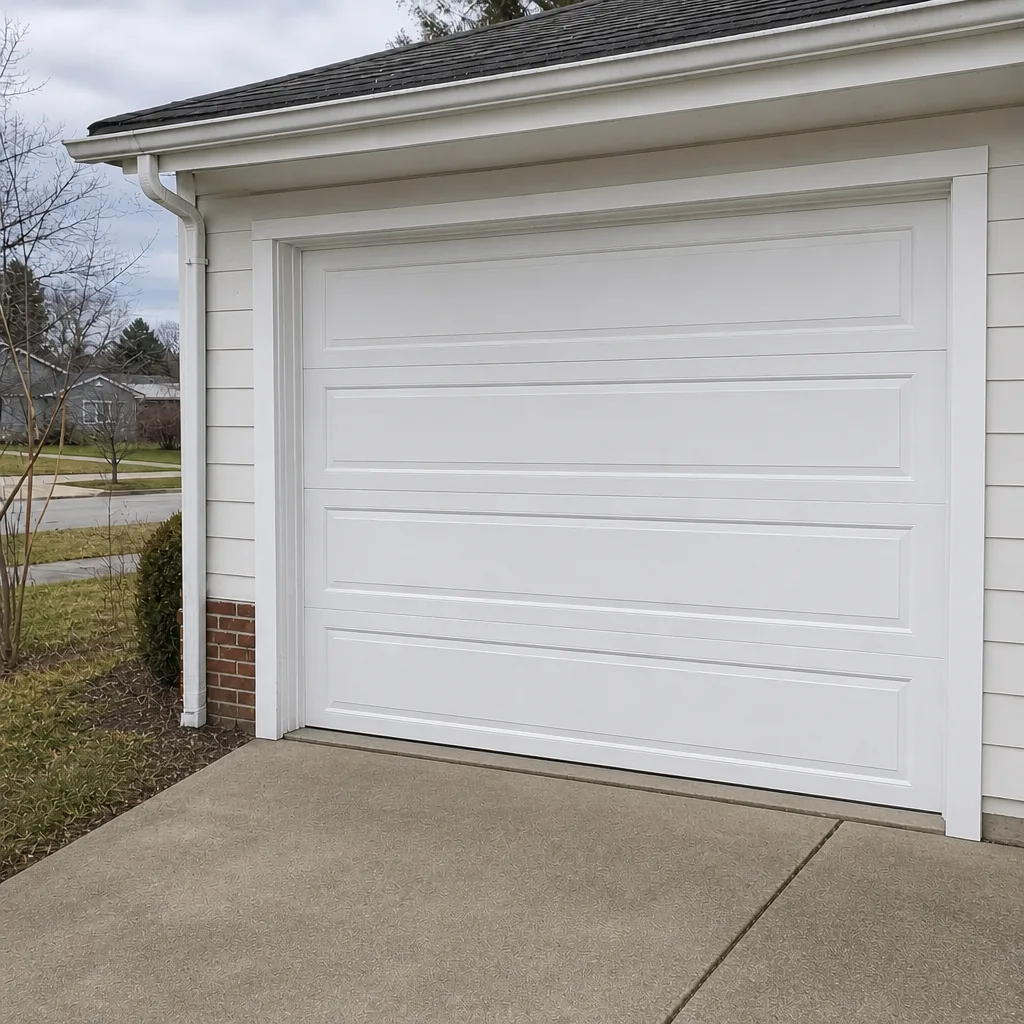 After
 Before
 After
 Before
 After